


Just as it took great skill in the darkroom to make the most of photographs captured on film, it takes great skill to turn a raw digital photograph into an eye-catching image which pops out at the viewer – taking the photo is merely the first step in a long digital ‘developing’ process. This blog post expands on this post from August 2014 which is also worth a read!
David from Horizon Imaging has been honing his post-processing skills in Adobe Photoshop and Lightroom since the mid-90s, and he now applies his experience and expertise to the post-processing of all Horizon Imaging’s ground-based and aerial photographs.
The diagram above on the right illustrates the basic steps Horizon Imaging follow to post-process our digital photographs. Some steps may or may not be necessary depending on the condition of the original photo, but by and large the process is followed for every photograph.
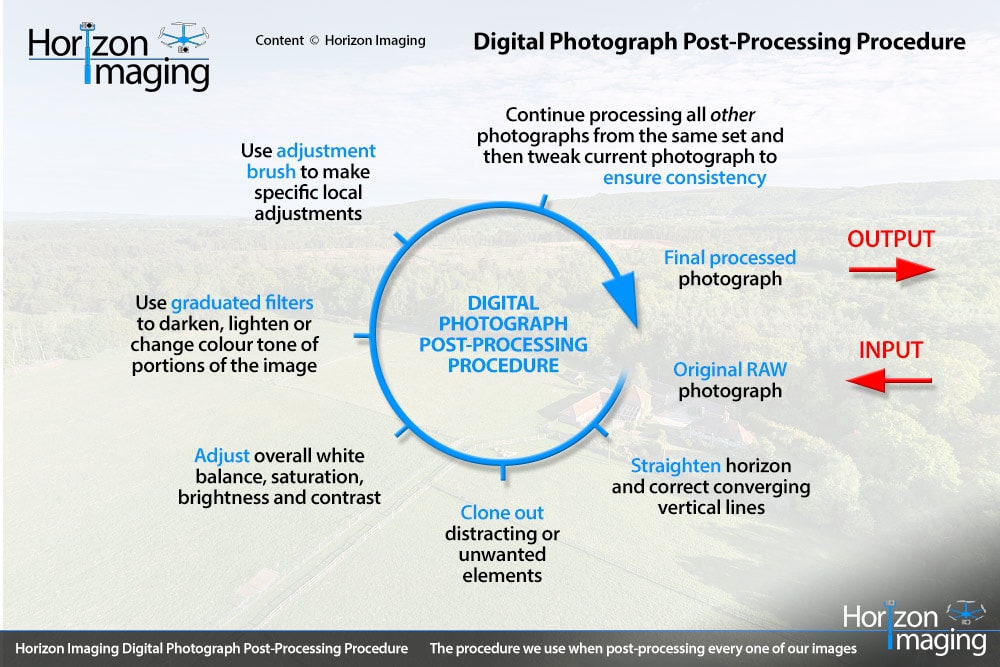
The digital photograph post-processing procedure we use for all our photographs. Click to enlarge.
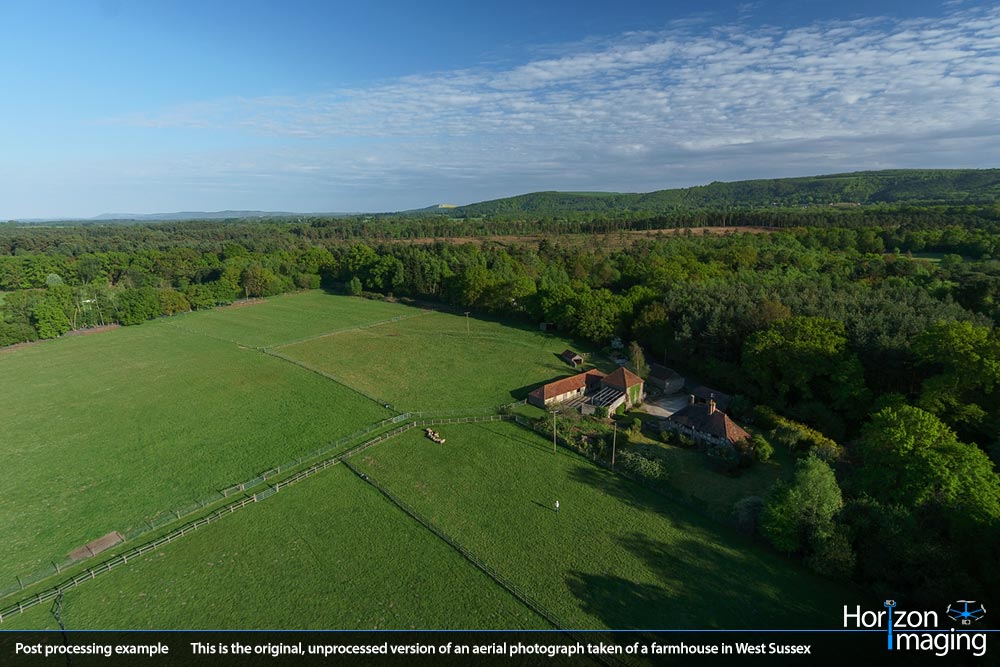
The original aerial photograph as taken directly from the camera. Click to enlarge.
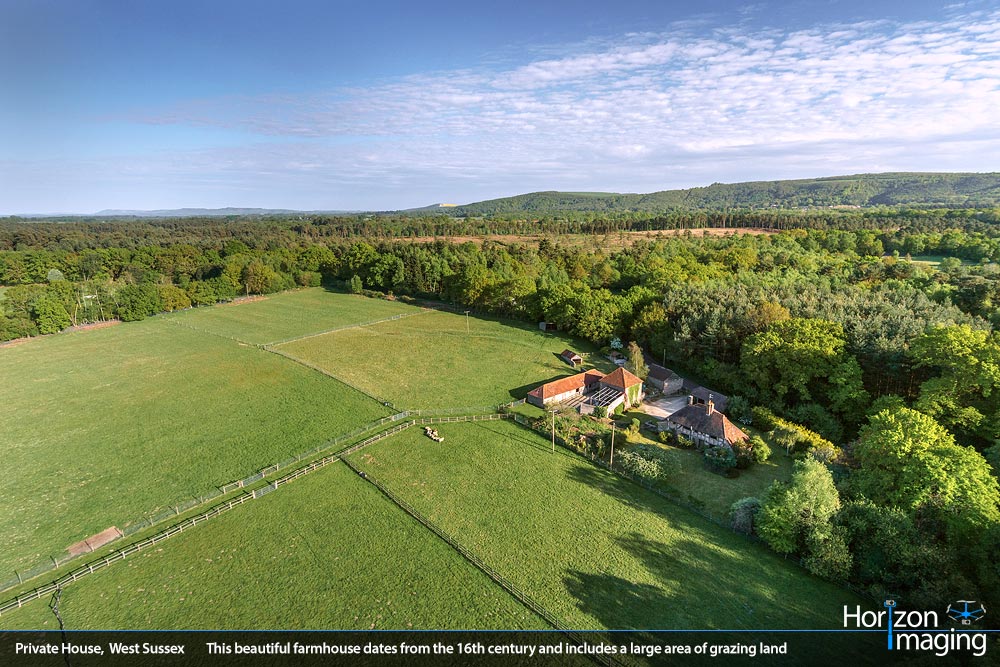
The final post-processed aerial photograph as exported from Adobe Lightroom. Click to enlarge.
All our digital photographs are captured in the RAW image file format. This ensures that the maximum amount of image data (particularly in the very dark and bright regions of the image) is recorded from the camera’s sensor from the outset. These RAW files are then opened in Adobe Lightroom on a colour-calibrated monitor. Using a calibrated monitor is essential for digital post-processing work as it ensures the screen is accurately reproducing the colours of the photographs – otherwise you could spend hours processing a set of photographs only to find they look drastically different when printed or viewed on another monitor.
As can be seen by the ‘before’ image in the middle on the right, the original photograph had many undesired flaws, namely: underexposed, strong green tint, warmer white balance on the right side of the image compared to the left, overly saturated blues and greens, slanted horizon, patchy blue sky colour caused by the polariser, pilot visible in the field (!) and so on. These flaws were quickly removed in Lightroom using a variety of tools and techniques.
One final trick to ensure all the images are processed consistently is to edit all the images, and then go back and look through them all again. By quickly flicking through a whole set of images, subtle inconsistencies in brightness and white balance will become apparent and can be corrected before the images are finally exported and sent to the client.
Good post-processing of digital photographs is as important a skill as taking the photographs in the first place. Don’t settle for mediocre images which lack vitality and pop – with Horizon Imaging you are guaranteed professionally-edited photographs which pack a punch!